- Manual setup
Getting started > Manual setup
Manual setup
This guide explains how to set up your Suncel project step by step, from scratch.
If you have an already existing NextJS project, adjust the guide related to it.
Requirements
React 18 or more
NextJS 12 or more
Node: 14 or more
Create NextJS project
To create a NextJS project lets use the nextJS CLI
npx create-next-app@latest --ts
Get the Suncel Package
npm i @suncel/nextjs
Configure your .env

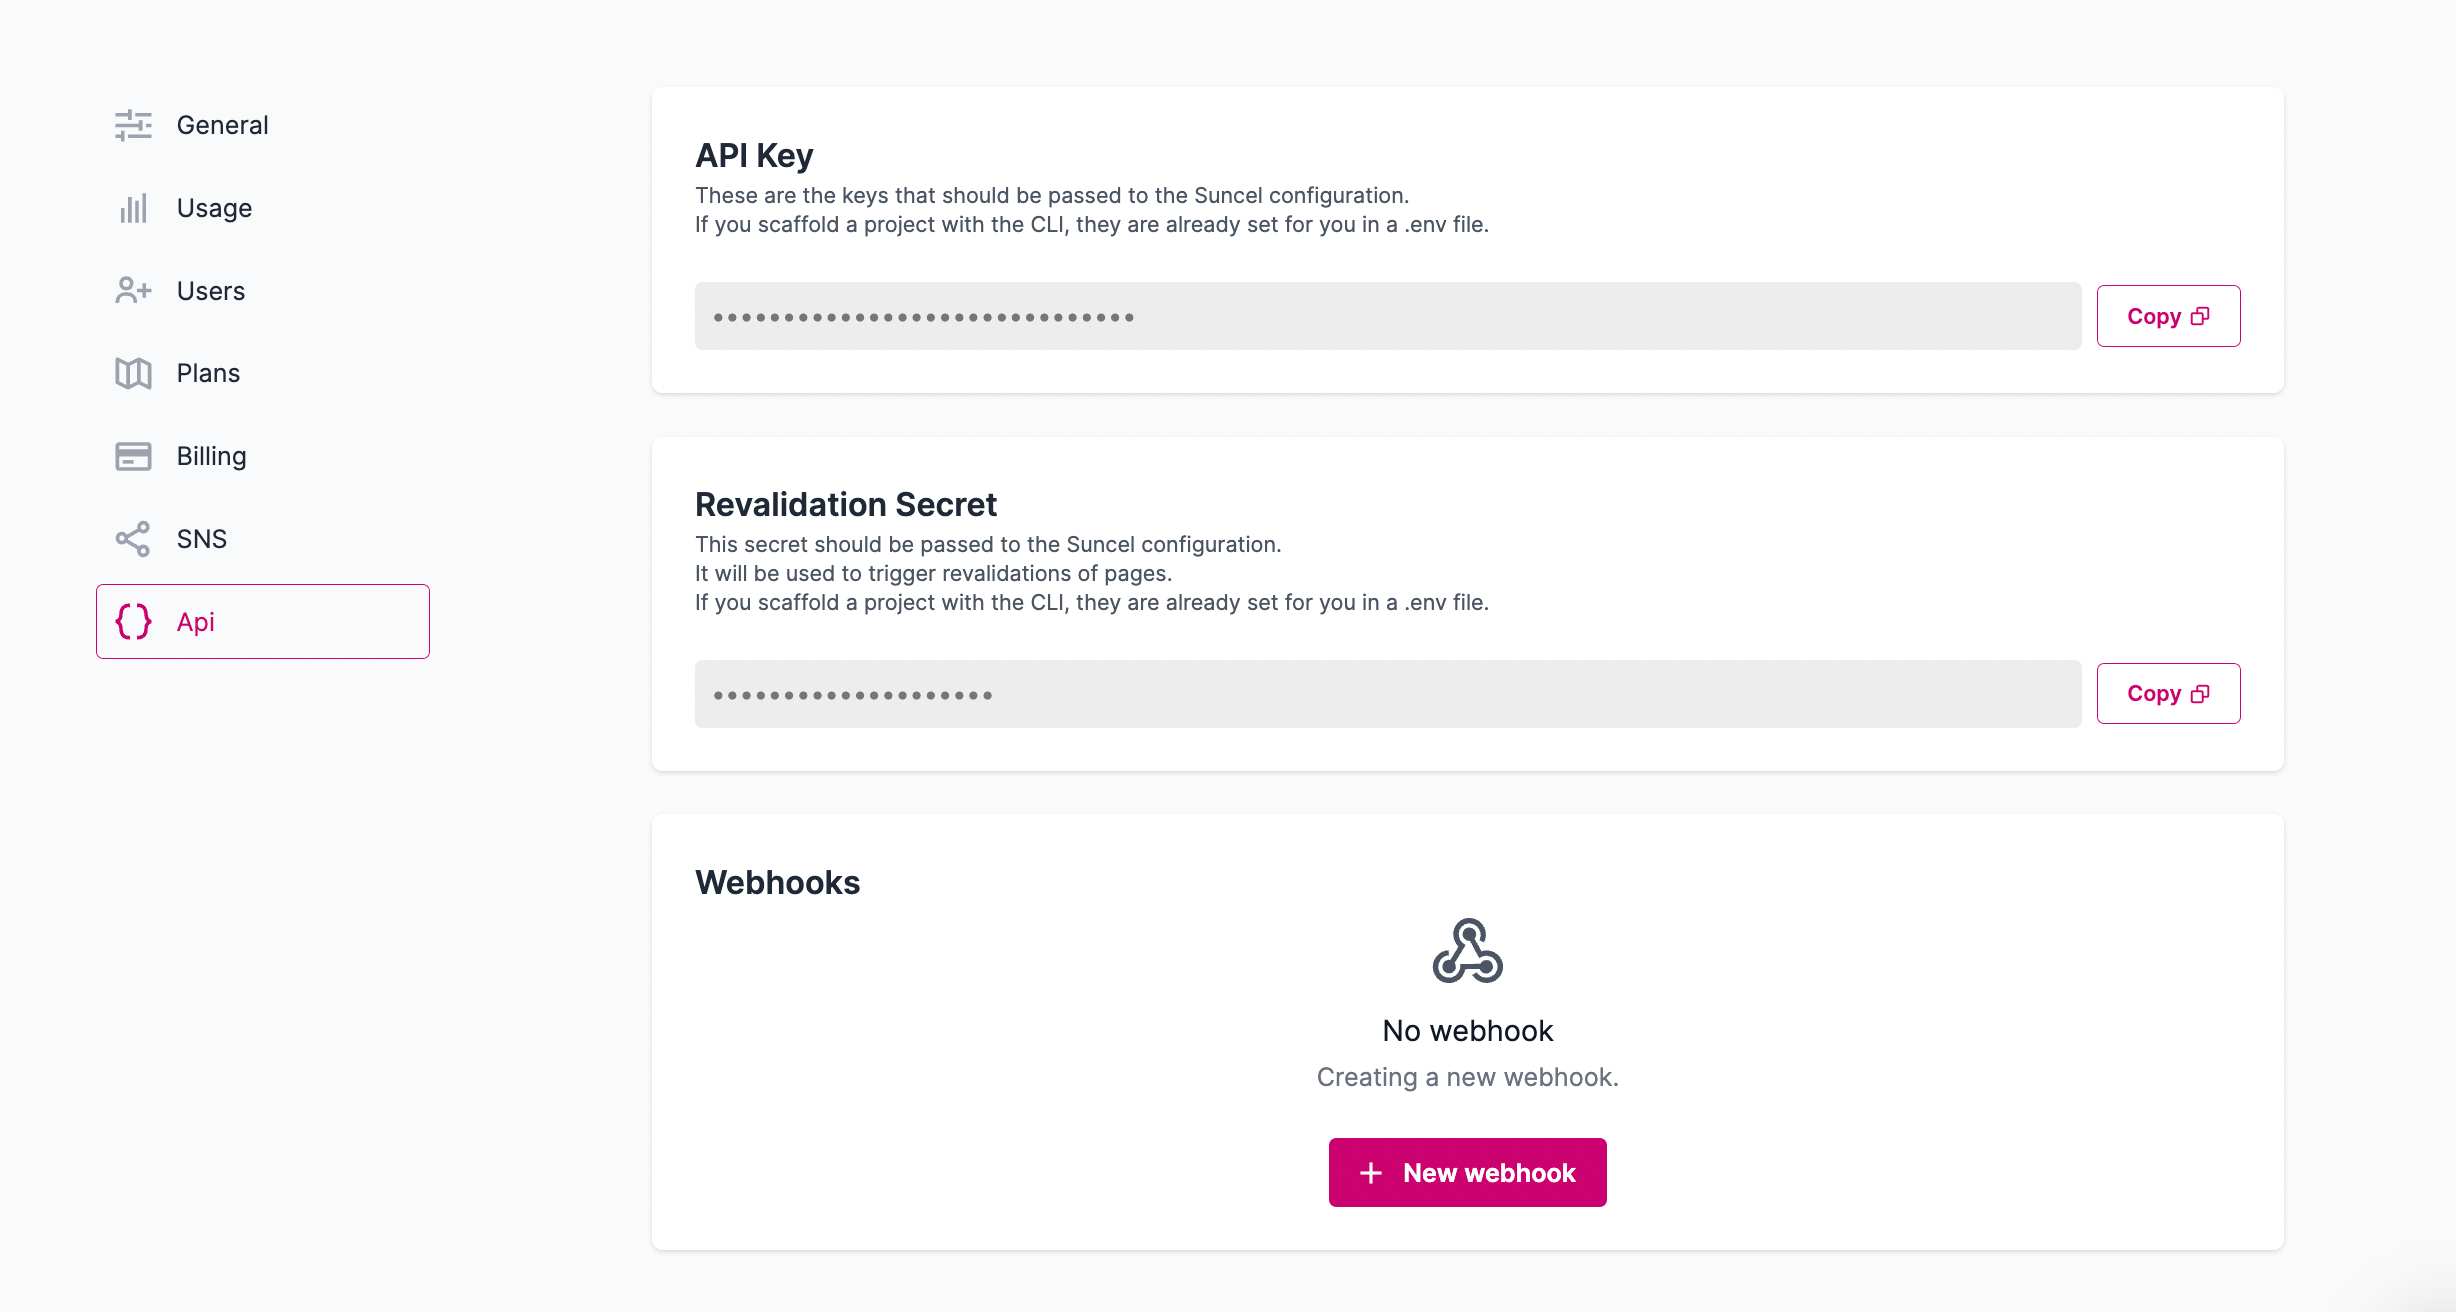
We need to configure the .env of your project with the keys from your Dashboard.
In the API Section of your project, copy paste your API Key and your Revalidation Secret in your .env as follows:
# .env file

NEXT_PUBLIC_SUNCEL_KEY={YOUR_SUNCEL_API_KEY}
SUNCEL_REVALIDATE_SECRET={YOUR_SUNCEL_REVALIDATE_SECRET}
Implement the features
For Suncel to be fully functional with all its features, you will need to implement the following steps:
Suncel Context: Use to share Suncel properties in your application.
The admin: To have access to the Suncel Admin.
Page rendering: To render the pages.
Preview: For the Admin to preview the page.
Page revalidation: To rebuild and cache a page it's updated.
Meta: To understand how the Meta data are generated.
Sitemap: To generate the sitemap.
Next.js config: Needed for Suncel images.